Guide
Countertop, wall-mounted or freestanding kiosks
The three kiosk forms can carry the same options and run the same software. What differs is the space they use, how they are fixed and how customers reach them. A comparison, the trade-offs and a site survey checklist.
6 minute readPublished
Mounting is a decision about your space
Countertop, wall-mounted and freestanding ordering kiosks can run the same software and draw on the same family of options: a touchscreen, an 80 mm thermal printer, a QR scanner, an optional NFC reader and a bracket for a card terminal. What differs is how they use your space, how they are fixed and how customers approach them.
So the choice is rarely about technology. It is about the counter you have, the walls you can fix to, the floor you can spare and the queue you want to form.
The three forms compared
| Consideration | Countertop | Wall-mounted | Freestanding |
|---|---|---|---|
| Sizes pictured | 15.6, 21.5 and 24 inch designs | 15.6, 21.5, 24 and 32 inch designs | 15.6, 21.5, 24, 27 and 32 inch designs |
| Space used | Counter surface; no floor space | No counter or floor space; projects from the wall | A footprint on the floor plus room to stand in front |
| Fixing | Stands on the counter and can be secured to it | Fixed to a wall that must carry the load | Base plate; floor fixing is assessed for the design and the site |
| Power and data | Usually already at the counter | Brought to the wall position, ideally concealed | Brought to the floor position without trailing cables |
| Moving it later | Simple | Needs making good and a new wall survey | Possible, but fixings and cabling move too |
| Suits | Cafés, takeaways, reception desks and positions beside a till | Narrow units, corridors and food courts with little floor space | Entrances, queue areas and larger restaurants and shops |
| Watch out for | Blocked staff sight lines and a crowded counter | Wall construction and projection into walkways | Queues that block doors or routes |
Scroll sideways to see the whole table.
Pictured sizes describe the designs shown for each range. Availability for a given design is confirmed with your quotation.
Countertop kiosks: the smallest commitment
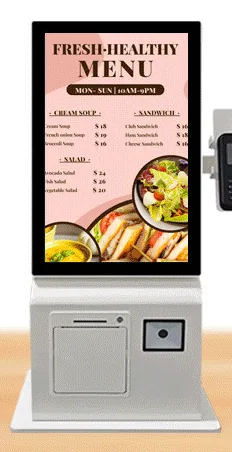
Countertop ordering kiosks are pictured in compact designs from 15.6 to 24 inch, in portrait or landscape, including a dual-screen terminal with one screen facing the customer and one facing the operator. They suit businesses that want self-service beside a staffed till, or that are trying self-service for the first time, because installation needs little more than a socket, a network connection and a firm surface.
The trade-offs are screen size and counter space. A kiosk on the counter takes room from food hand-over, displays and staff. Measure the counter depth, check that the kiosk does not hide staff from customers, and decide whether the unit should be secured. The countertop ordering kiosk page shows the designs.
Wall-mounted kiosks: floor space back, survey required
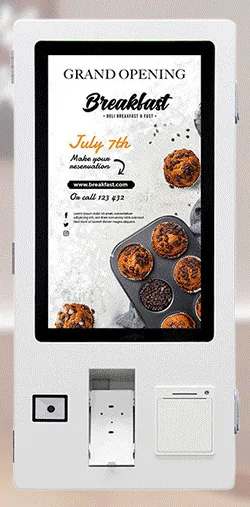
Wall-mounted ordering kiosks keep both the counter and the floor clear, and are pictured from 15.6 to 32 inch. Several designs place the scanner, printer and payment cradle in a module below the screen, so the whole unit is taller than the screen size suggests.
The wall does the work, so it must be surveyed. Solid masonry, blockwork and stud partitions behave very differently, and a partition may need reinforcing. Power and data should arrive behind the unit. Think about how far the kiosk projects into a walkway, and about mounting height, which fixes the reach for every user once the unit is on the wall. See the wall-mounted ordering kiosk page.
Freestanding kiosks: presence and choice of position
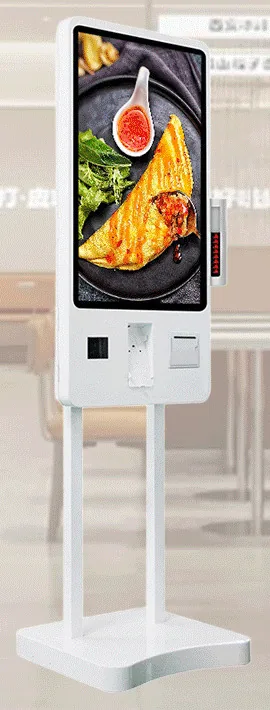
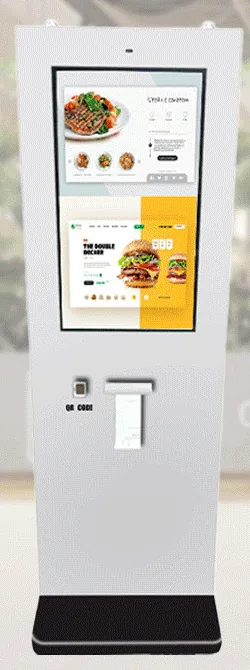
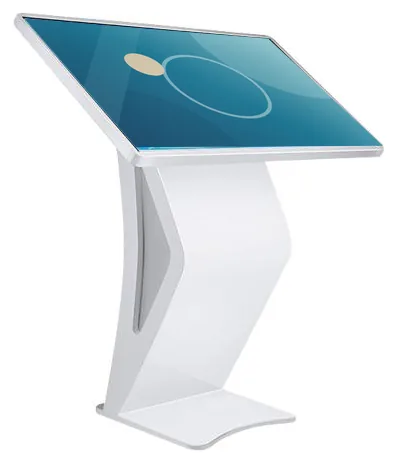
Freestanding ordering kiosks are the most visible form and show the widest variety of designs: slim pole stands with a tilting screen, twin-pole stands, some with a header sign above the screen, slab-style towers and lectern-style units with a landscape screen. Pictured sizes run from 15.6 to 32 inch.
They can stand where the queue should form rather than where a counter or wall happens to be, and several can be grouped. In exchange they need floor space, a way to bring power and data to the base, and an assessment of floor fixing for stability. Look at the freestanding ordering kiosk designs with your floor plan in hand.
Outdoor and information kiosks are separate ranges
A mounting style shown for one product does not carry over to another. Outdoor kiosks come as separate wall-mounted and freestanding ranges with their own enclosures, and their environmental ratings are confirmed for the selected model with your quotation. Larger information kiosks are another range again, listed in wall-mounted, floor-standing and touch-table models.
Reach, height and accessibility
Whatever the form, plan for customers who are seated as well as standing. Ask for the height of the touch area, the card terminal position and the printer slot for the specific design, and check there is clear, level floor space to approach and turn. With a countertop unit the counter sets the reach. With a wall unit you choose it once. With a freestanding unit it is set by the design, although some pole stands have a tilting screen.
Software helps too. Essential controls can sit in the lower part of a tall portrait screen, text can be large and high in contrast, and the order flow can avoid time limits that rush people. Raise these points when the software is scoped.
Peripherals change the shape
The same options appear across all three forms, but each design arranges them differently. A bracket on the side makes a kiosk wider, a cradle on the front makes it deeper, and a printer needs room for a paper roll and for a hand to change it. A bracket is a mounting point, not proof that a particular card terminal fits or that a payment provider is supported, so bring your terminal model to the conversation. The ordering peripherals page lists the family-level options.
Site survey checklist for a supplier conversation
- A floor plan or photographs showing the entrance, counter, queue route and proposed kiosk positions
- Counter depth, height and material, for countertop units
- Wall construction at each position, and what runs inside or behind it, for wall-mounted units
- Floor construction, and whether fixing into it is permitted, for freestanding units
- Where power and a network connection are today, and how they can reach each position
- How many kiosks are needed at the busiest time, and where the queue will form
- Clear approach space and reach heights for seated and standing customers
- The card terminal model supplied by your payment provider, if payment is taken at the kiosk
- The peripherals each kiosk needs: printer, scanner, NFC reader, payment bracket
- Landlord, shopfitting or planning constraints that affect fixing or cabling
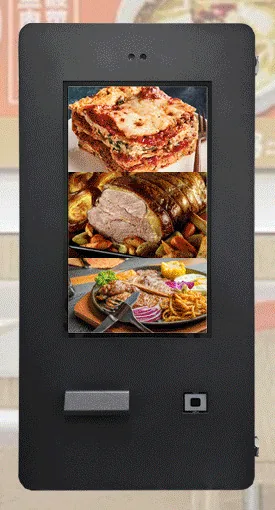
- Colour and branding requirements: white, black, custom colour or printed graphics
Mixing forms and next steps
A site can mix forms: for example, two freestanding units at the entrance and a countertop unit beside the till, all running the same ordering software. Start with the floor plan, then use compare to line up the ranges, or read how to choose a self-service kiosk for the wider decision. When you are ready, request a quote and attach your plan and photographs. The installation and rollout page explains how site preparation and fitting are planned.